
I’m writing this late on a Labor Day Monday night. My girlfriend is currently in flight back from NYC where she saw a Jonas Brother Concert (not super jealous), and ate at a Michelin Starred Chinese restaurant (super jealous). My Labor Day Weekend was pretty good (thanks for asking) — I spent a decent amount of time reading and reviewing HTML and CSS but did manage to stop by my neighbor’s new pool each of the 3 holiday weekend days!

This weekend wraps up the second week of Coding Bootcamp Prework. The focus of this week was an introduction to HTML and CSS. HTML stands for hypertext markup language. HTML is not a coding language (it’s a markup language), although if you looked at a page of HTML, you might be fooled.
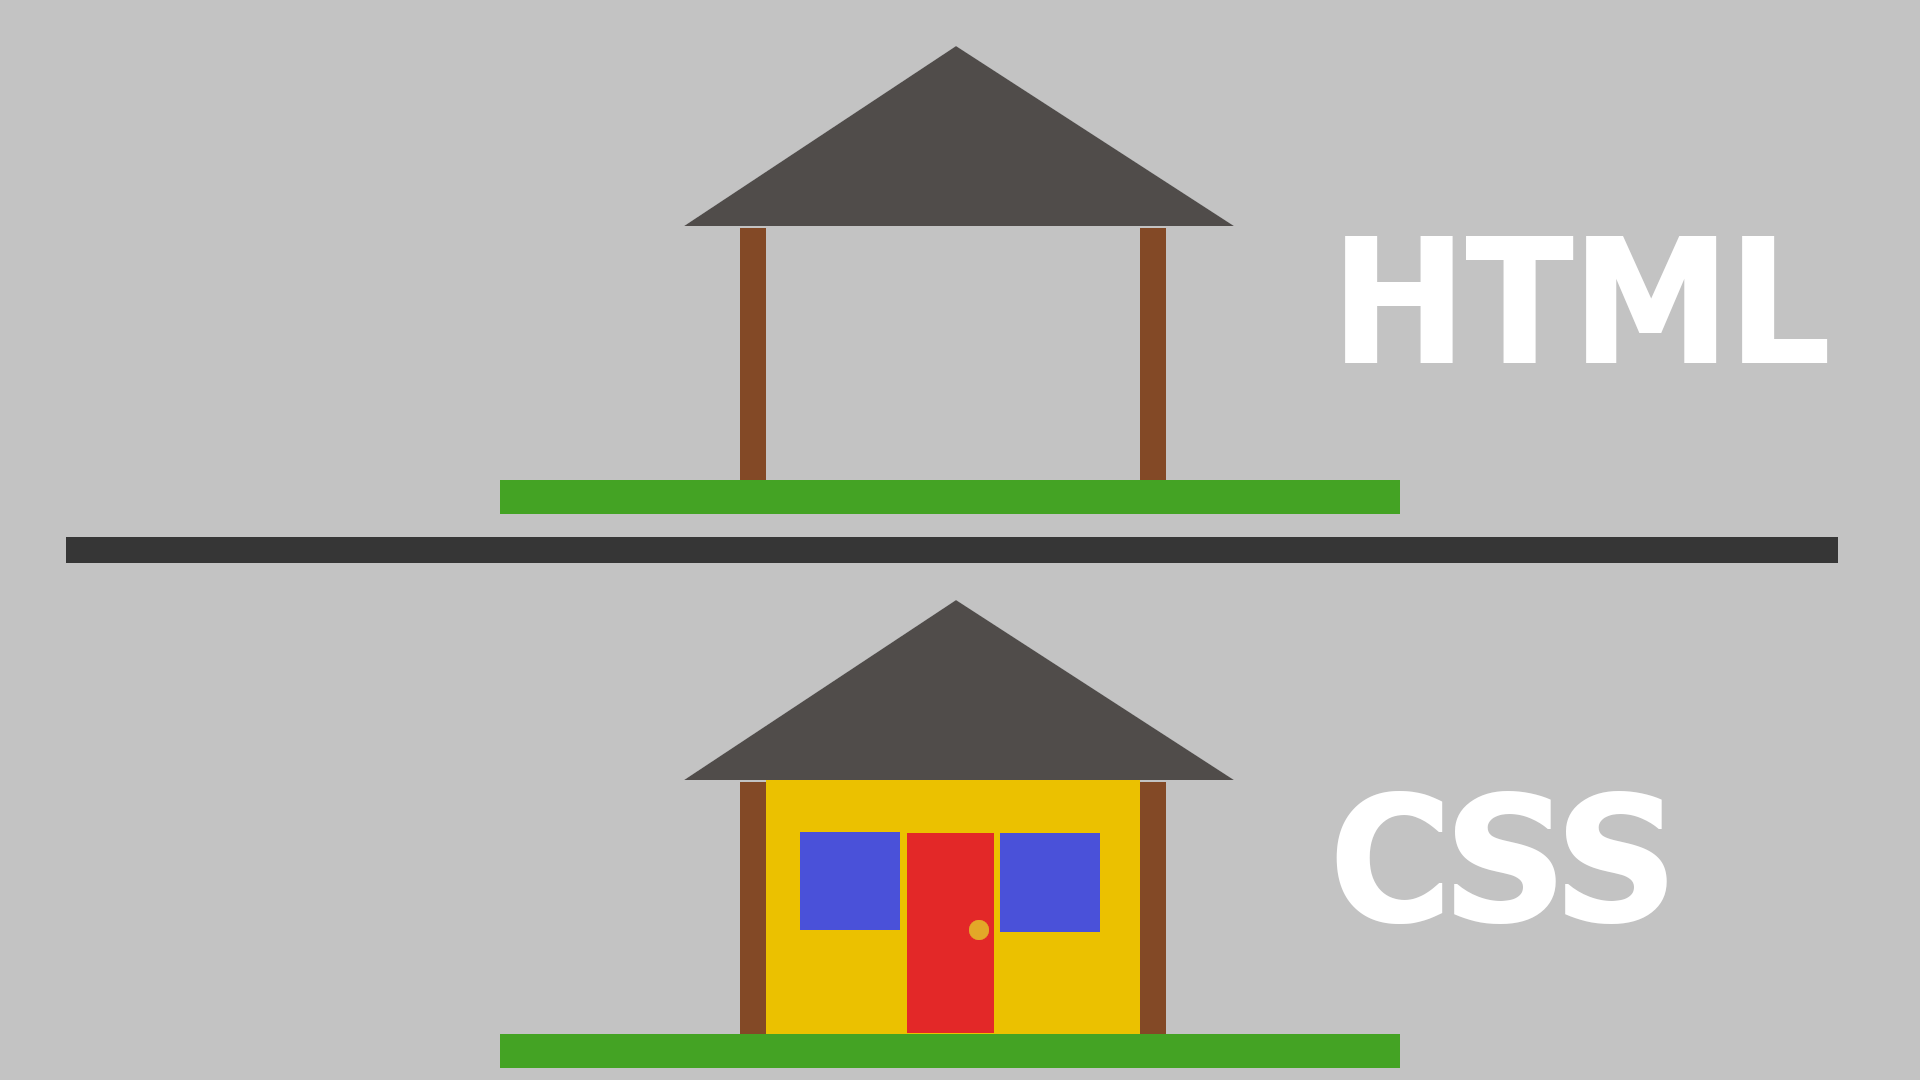
CSS stands for cascading style sheets. HTML provides the structure of your webpage and CSS gives it its style. If HTML is like the frame of your house, CSS is the doors, windows, paint, etc:
We covered a range of basic HTML and CSS topics, and although I would love to write a post covering everything we learned, I would also love to go to sleep at some point tonight. Instead, here is a very basic introduction to HTML/CSS!
HTML: A very basic introduction
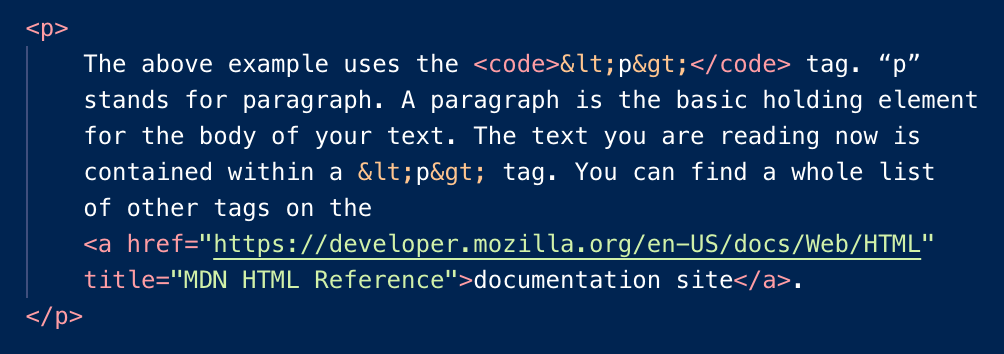
The basic building block of HTML is the element. An element is declared using opening (<element>) and closing (</element>) tags. Between said tags, lies the content of the element.
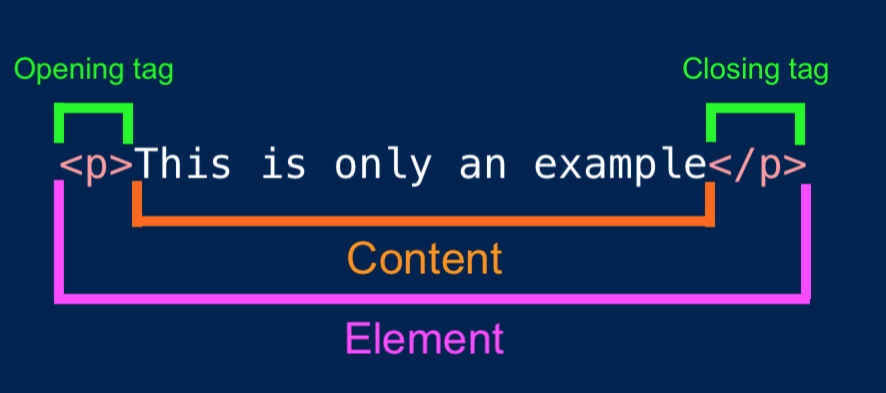
The above example uses the <p> tag. “p”
stands for paragraph. A paragraph is the basic holding element
for the body of your text. The text you are reading now is
contained within a <p> tag. You can find
a whole list of other tags on the
documentation
site.
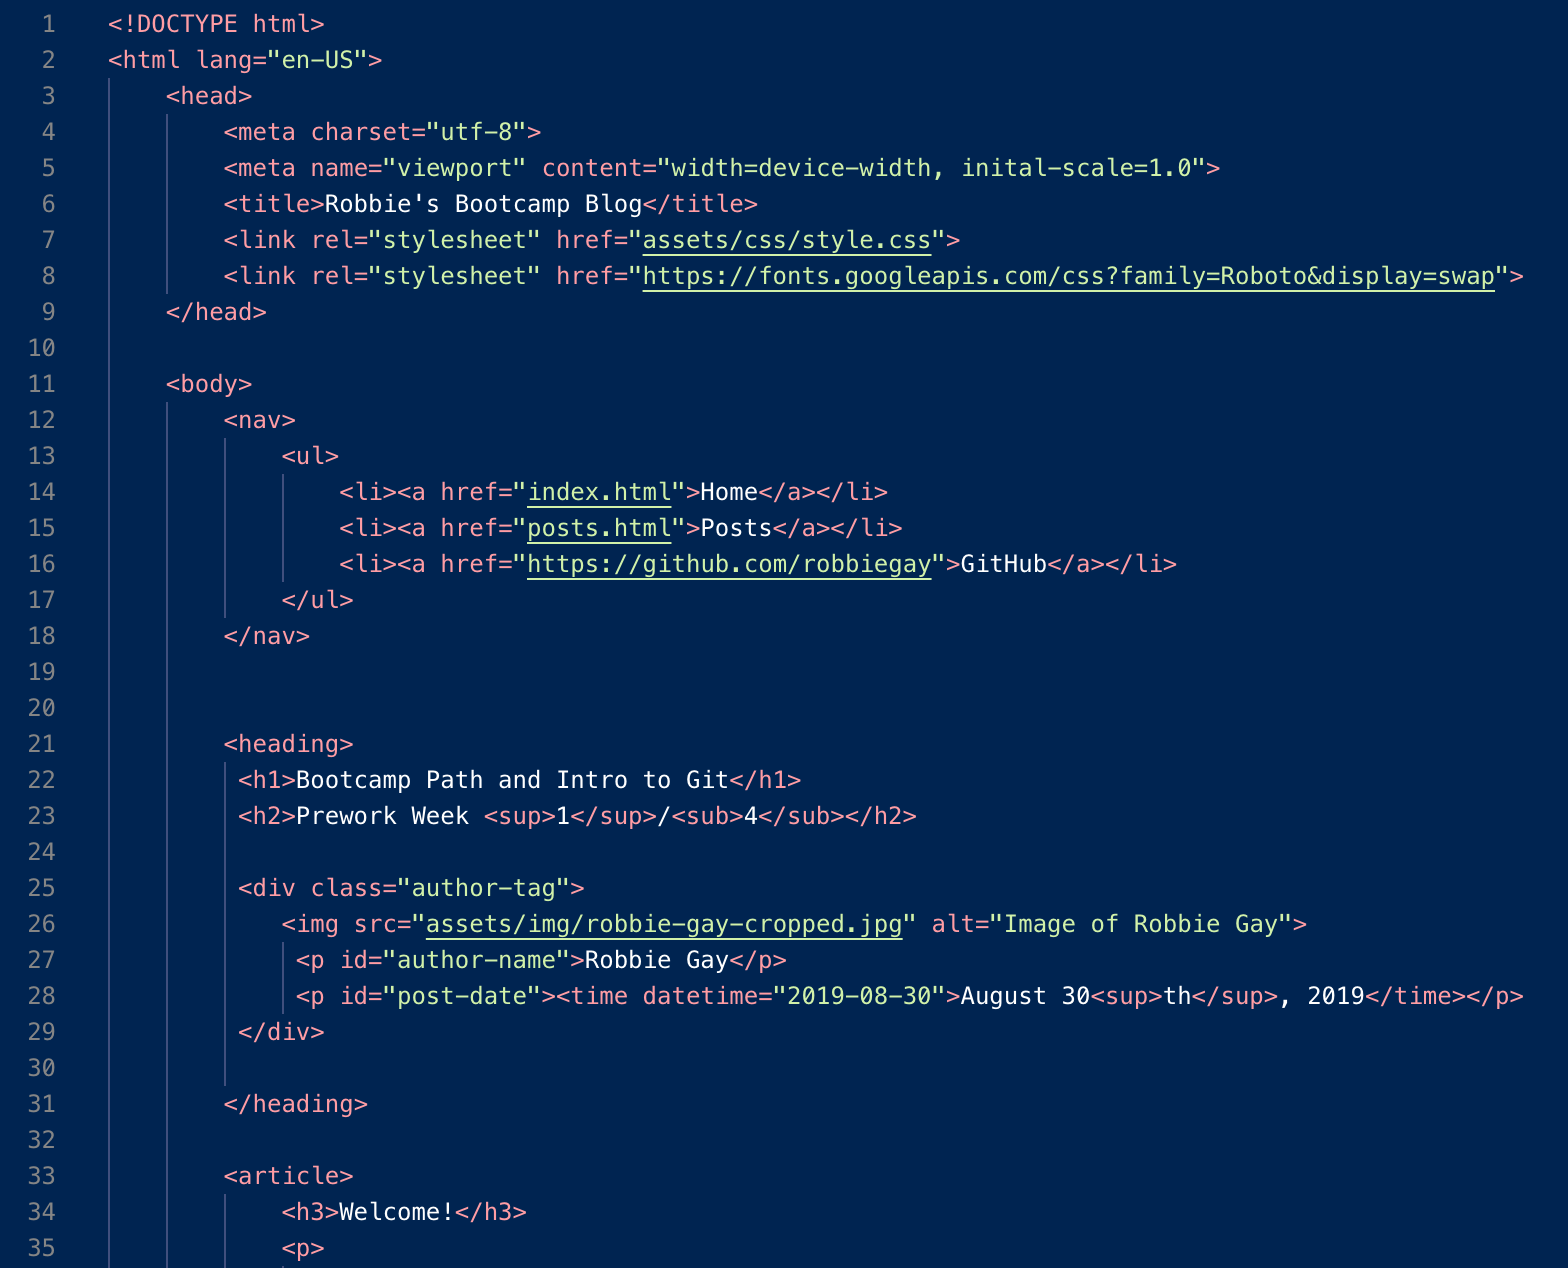
Elements are nested within a hierarchy in HTML. Below is a very basic layout for a HTML webpage:
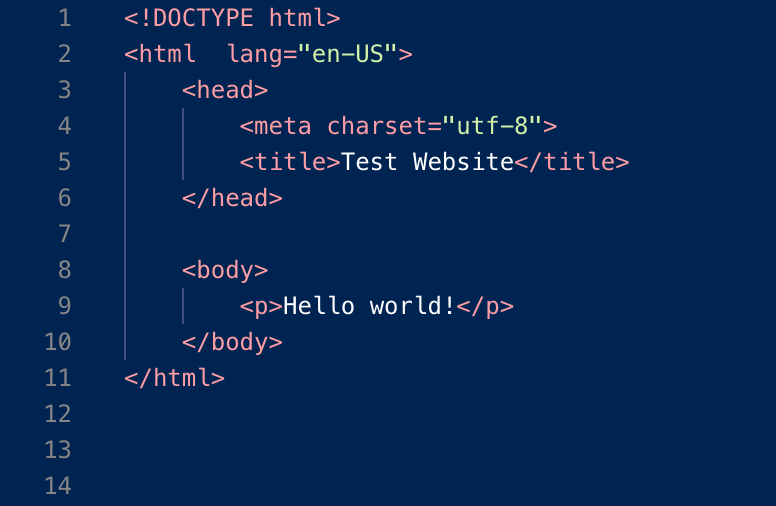
A rundown of what is going on here:
-
<!DOCTYPE html>this declares to the muses of the internet that the below information is a HTML document, and to process that information accordingly. -
<html>This is the opening tag that begins the actual HTML document. Notice at the bottom of our markup is</html>this closes the markup. This level is sometimes called the root. - Although not required, I have also declared the language (“lang”) of our webpage: it is written in English (“en”), the US dialect.
-
<head>The head contains the elements that the end user does not need to see, but that the machines find useful. - Here we have a metadata tag “meta” that declares the charset (set of characters that the browser can interpret). Here we have defined it as utf-8, which allows us to use virtually all 1.1 million characters and symbols in any world language. You can read more about utf-8 here.
-
<title>This is the title of the webpage. It is useful for search engines (it is the name that appears in big title letters in search results). It also appears as the title of the window or tab when on the site. Additionally, it is the default name when you try to bookmark the page (for example, bookmarking this awesome blog would give you the default title "Prework Week 2") -
</head>notice that we then close the head with a closing tag. - <body> The body is where the main content of our webpage lives. The only content that we have here is “hello world” ( click for context about the hello world convention).
-
We then close out our
<body>and close out our<html>
<p> opening and closing tags
are on the same line, but the <html> tags
are on different lines (and indentations)? Whitespace, or the
spacing of the HTML document, doesn’t matter to the web
browser. We could put everything on one line! Rather, it
matters to us. Laying things out in a human-readable manner
is handy for anyone working with computers.
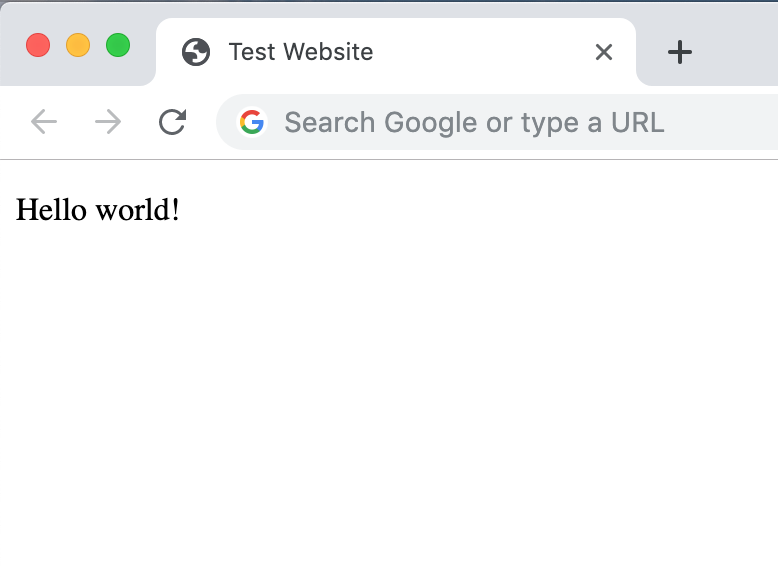
Here is the end result of our sample HTML. Things will look a little sparse, but we did a good job setting up a basic layout:
CSS: Another brief introduction
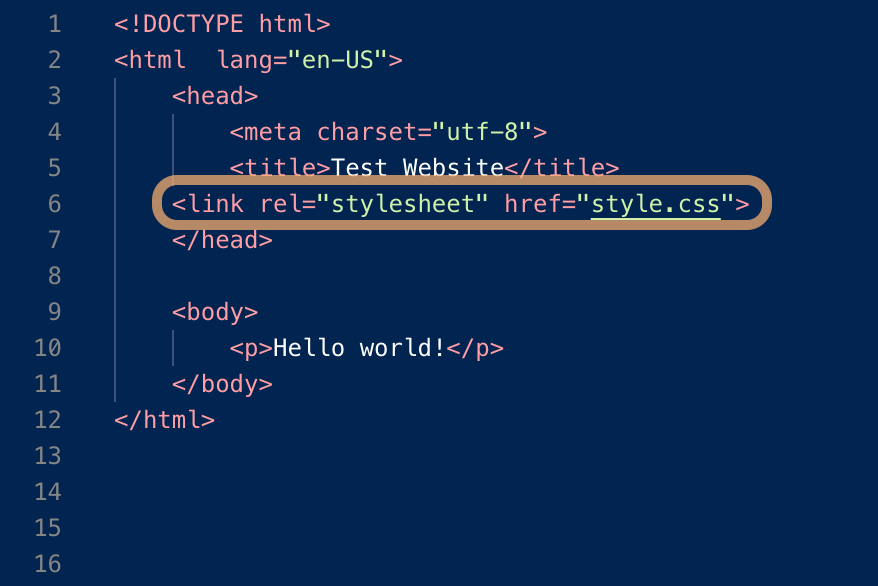
We can add CSS to our example HTML to give it some style!
First, we need to link our CSS file in the HTML markup, that
way the web browser knows where to find it. If we don’t tell
the computer where to look, it would be like telling a human,
“fetch me a glass of water”. Your friend might not know where
you keep your cups. Linking to the stylesheet is like saying
“fetch me a glass of water, the glasses are in the cabinet
next to the fridge.”
CSS is formatted a little different than HTML. A CSS rule or ruleset tells the browser how to style various HTML elements. On the left are the selectors, these tell HTML which part of the page to apply the style rule to.
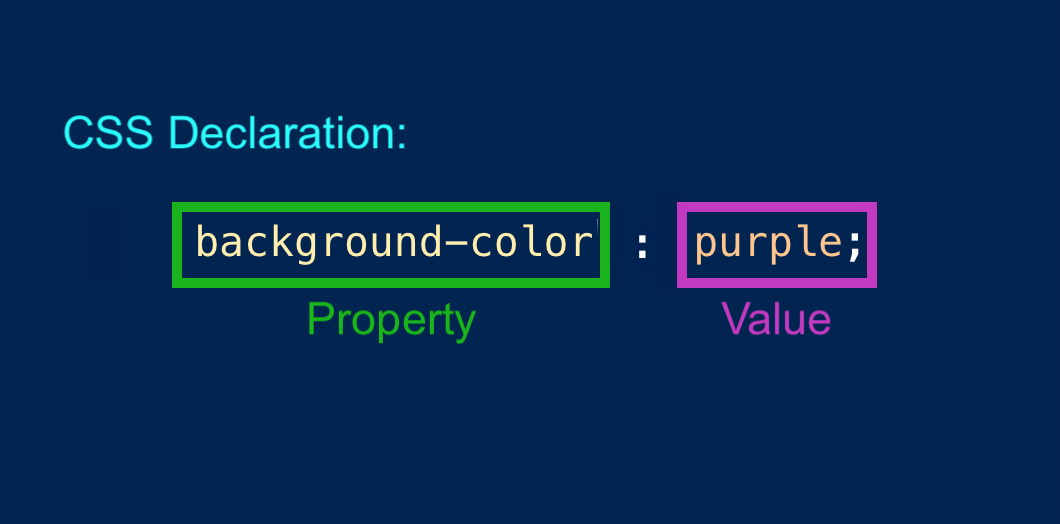
A CSS example might look like:
.robbie {color: purple}
In computer speak, this takes the class “robbie”
(an endstop “.” before a word makes it apply to a
whole class of elements), and turns it/him purple. In human
speak the selector .robbie would sound like “make
robbie…” and the declaration {color: purple}
would sound like “…become purple colored”.
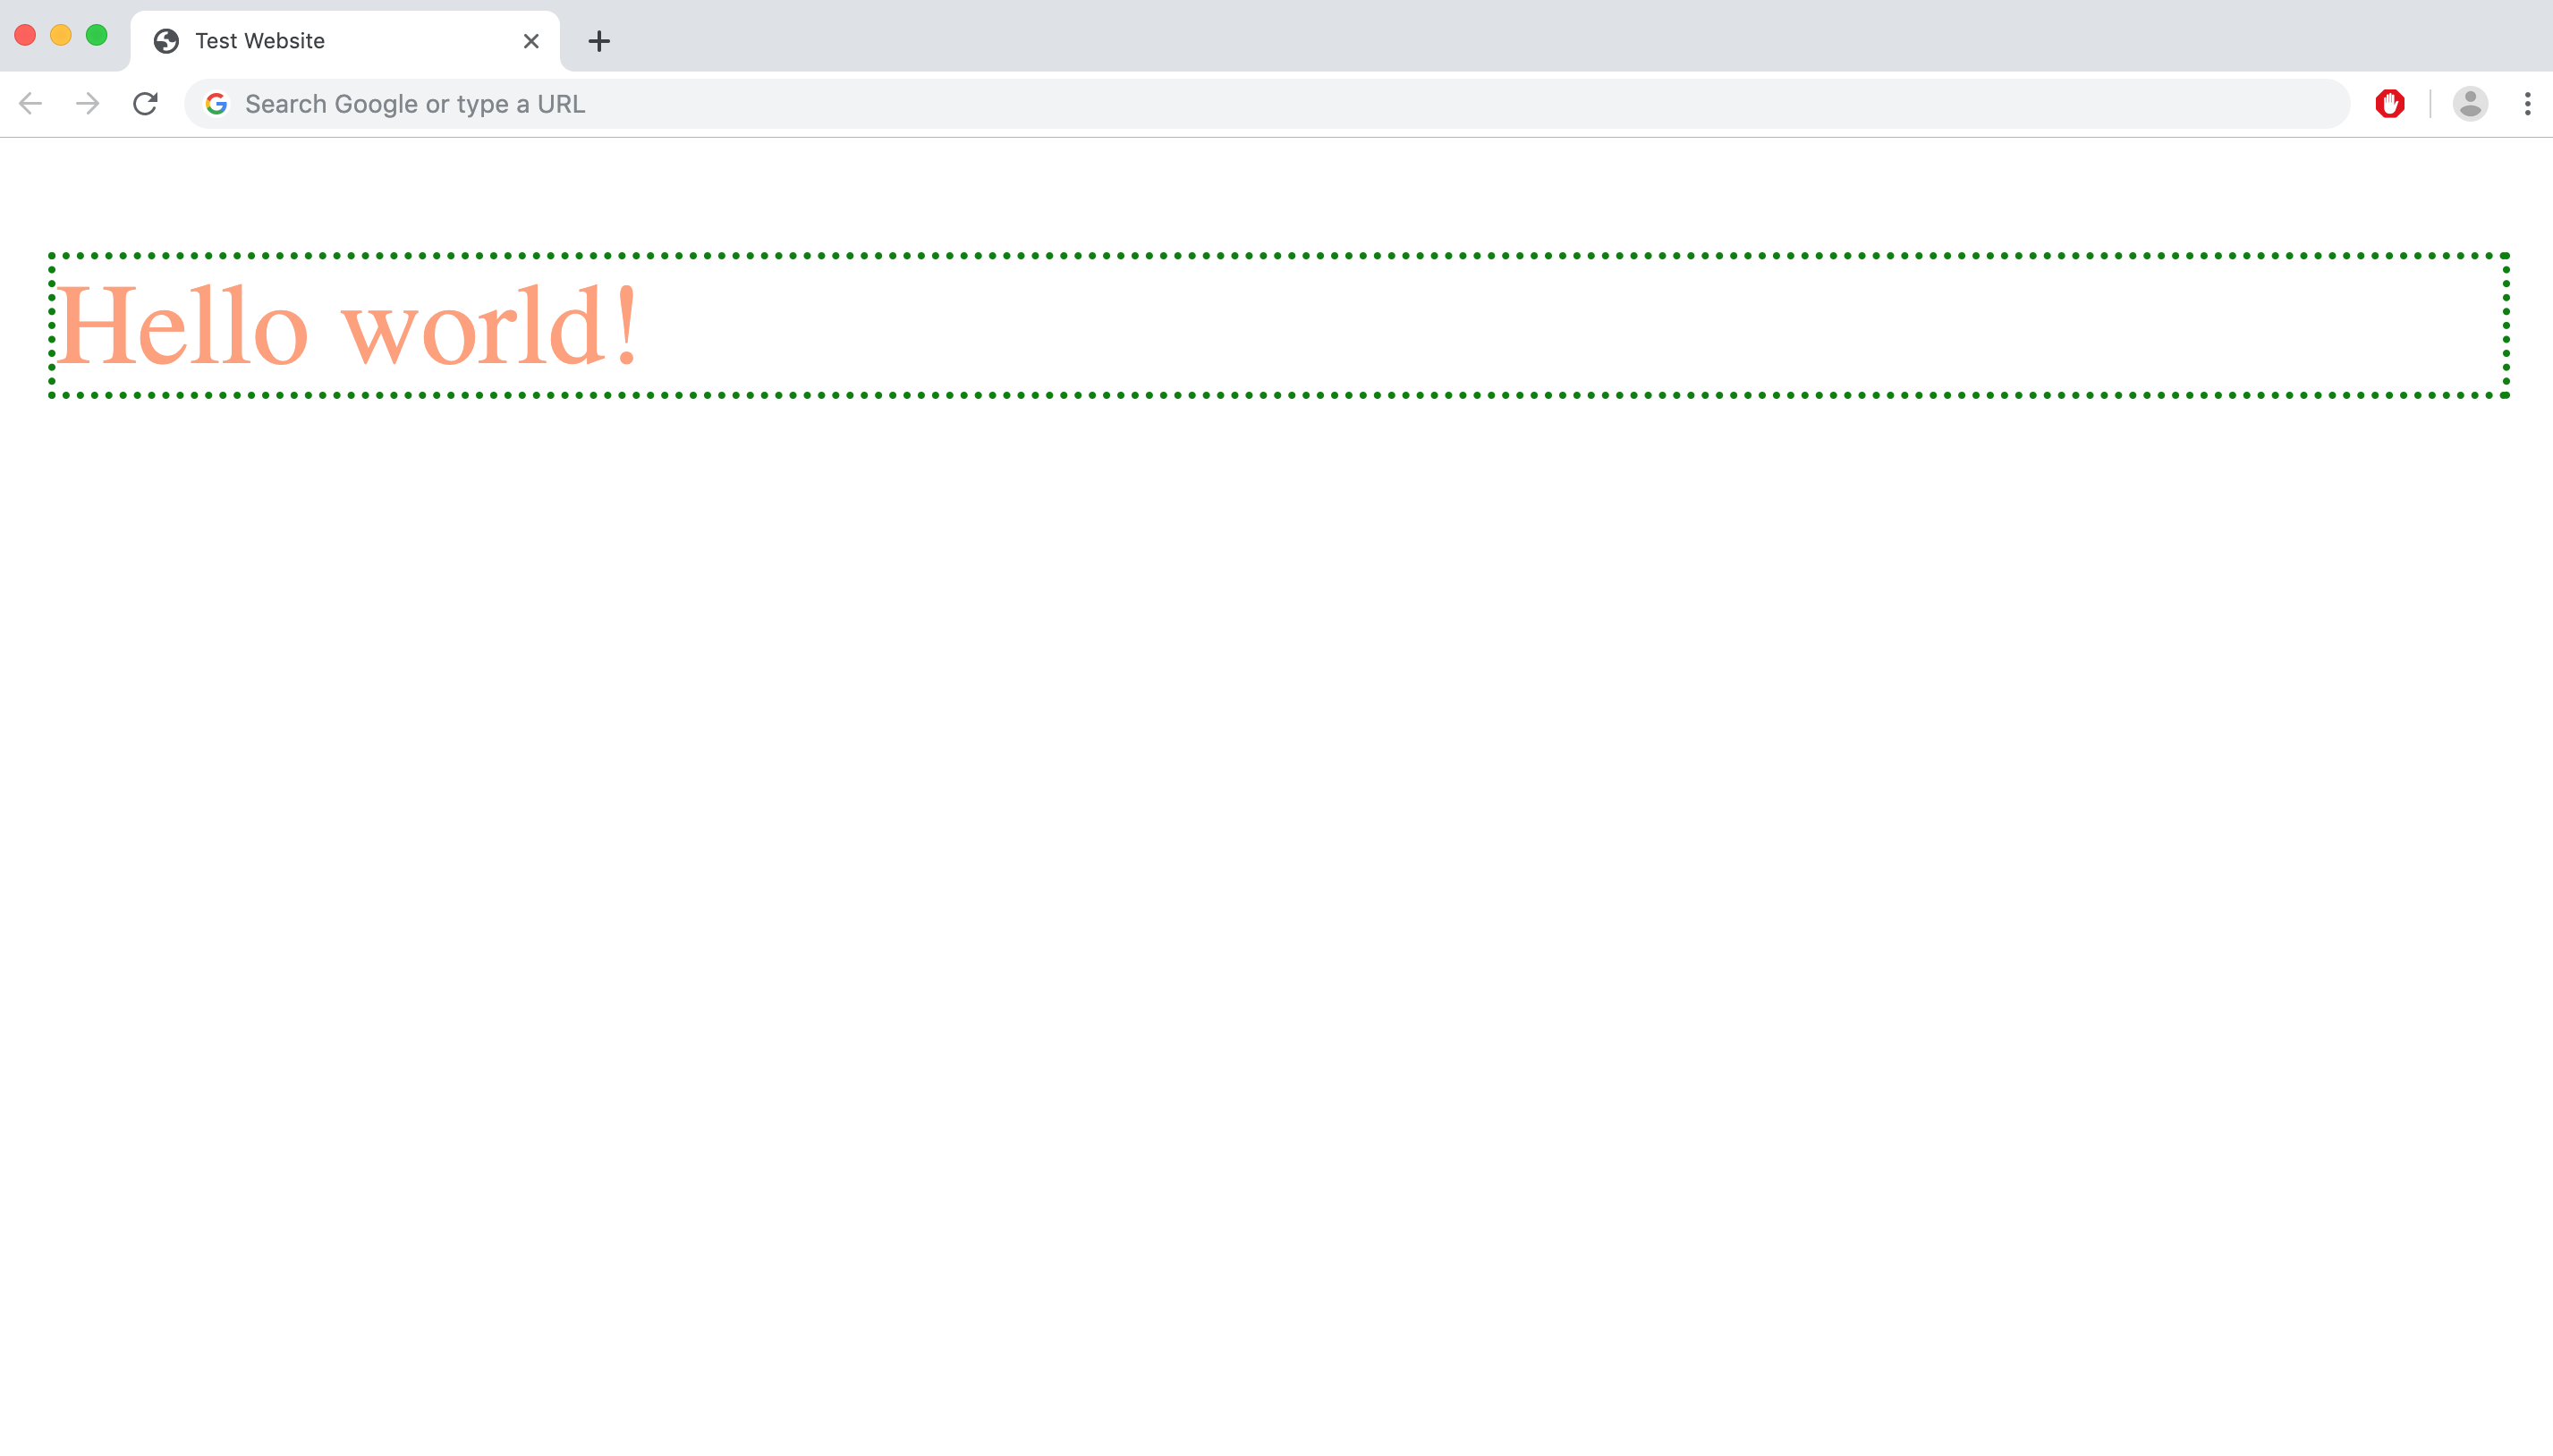
A final example of CSS will be to apply it to the example HTML we used before.
                            p {

                            color: lightsalmon;

                            border: 1px dotted green

                            }
We have told the web browser to make all <p> elements the color “
lightsalmon” and to add a
"1px" (pixel) wide, dotted, green-colored border
around them.
Thanks for sitting through my brief HTML and CSS tutorial! If this were the year 1990, you might be able to get a job working with Tim Berners-Lee, otherwise you’ll likely need to read through more of the MDN tutorials before this becomes remotely practical.
Pseudo Code: not code, but not not code
This week we also learned about Pseudo Code. Pseudo Code is
really useful in the brainstorming phase of your code writing
process, as it allows you to find a happy medium between
super technical real code, and regular, everyday English.
Why find this middle ground? Jumping right into code can be
like starting a journey without any sort of road map. Pseudo code gives
you a chance to outline your work, and maybe see what problems
and challenges you are likely to face. You may be able to
solve some of those problems in this outline, perhaps saving
you the time of starting in the wrong direction!
Pseudo Code is not full code. The meaning of this is that you
don’t have to worry about the code being technically correct —
there’s no getting bogged down in the complexities of figuring
out how to solve certain problems. For example, in your Pseudo
Code, you might realize that you need to invent a new
algorithm for streaming video. Instead of putting down the pen
and spending hours/days/years (I have no idea how long it take
to write an algorithm) writing your new algorithm, it is enough
to simply know that it is needed — plot it on your roadmap and
move on.
At the same time, you would want to avoid full on English.
Saying “go find the peanut butter” might not mean much to a
computer. Humans are great at making inferences and thinking
creatively, computers are very literal. While you don’t need
to actually map out, via full-blown code, how to get your
robot/computer to find the peanut better, you should at least
acknowledge the basic steps: locate kitchen, locate pantry,
find peanut butter.
Reflection
I really enjoyed Prework Week Two of the Awesome Inc. Bootcamp. There
is a lot to learn and I have really enjoyed getting to build
some test websites!
I struggled a bit this week with CSS. We worked through the
MDN Intro readings on the topic, and I found myself rereading
them today for the 3rd time, taking notes, and only now
starting to feel more comfortable understanding topics such as
inheritance,
cascade, and
box model
HTML came a bit more easily. An assignment for acceptance into the Bootcamp
involved building a basic HTML site. To help me
build that, I signed up for a free trial of Code Academy Pro
and worked through an Introduction to HTML course. Having even
a brief sampler of HTML helped me get through the HTML
fundaments more easily.
I found Pseudo Code really interesting to work with. It’s
really helpful to create an outline and to be able to
(mentally) run through your program and know that it might
(hopefully) work. This is nice because you can build a roadmap
without becoming caught up with the various typos and small
errors that your code might have initially. With Pseudo Code,
you are making a good faith effort to ensure that your
top-level logic is sound!
Resources
Two resources that I found helpful were
Google Fonts
and Google's
online color selector. Google Fonts gives you a large
selection of fonts to chose from (I’m currently using
"Roboto"), as well as a great interface for selecting fonts
and easy to understand instructions on how to implement them.
A color selector was helpful for picking aesthetically
pleasing colors for a website, as it allowed you to turn
any color you wanted into hex or rgb notation.
A closing note, if you’re interested in HTML and CSS and want
to see (aka judge) my use of them, you can likely access
developer tools on your web browser. Here are some links
that would allow you to turn those on in a variety of popular
browsers.
- Chrome: Accessing Developer Tools
- Safari: Accessing Developer Tools
- Internet Explorer: Accessing Developer Tools
- Firefox: Accessing Developer Tools